
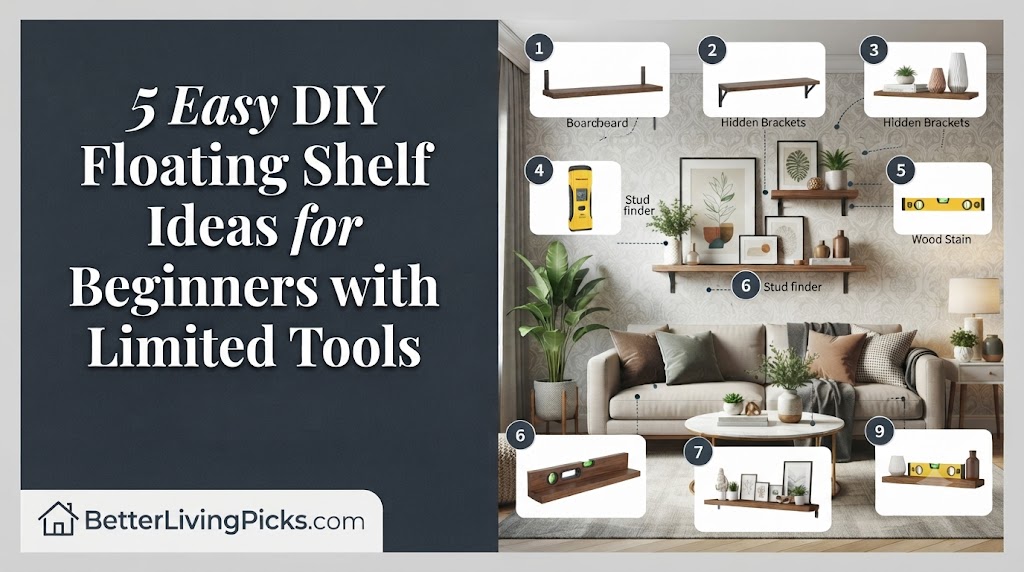
Yes. You can use pre-cut wood boards and simple manual fasteners. By focusing on cleat-based mounting or concealed brackets, you can create sturdy shelves using only a drill, level, and stud finder.
2. What is the most common mistake when hanging shelves?
The most common mistake is skipping the stud finder. Mounting heavy shelves into drywall alone will cause them to rip out. Always ensure at least two mounting points hit solid wood studs.
3. How do I make a shelf look like it is floating?
The key is hiding the support structure. Whether you use a hidden internal bracket or a recessed wood cleat, the hardware should be completely invisible from the side or front once the board is attached.
4. What is the easiest shelf idea for absolute beginners?
The “L-Bracket” hack is the easiest. By installing standard L-brackets and recessing them into the back of your wood board, you get a floating appearance while maintaining the strength of steel support.
We have all been there, staring at a blank, boring wall and wanting a custom storage solution, only to feel intimidated by the complex tutorials online that require a full woodworking shop. It is easy to think you need expensive miter saws or pneumatic nailers just to hang a few boards, but that stops you from getting started.
The truth is, you can achieve a sleek, high-end floating look with just a handful of basic tools and a trip to your local hardware store. The trick is choosing the right mounting method that plays to your strengths rather than fighting your lack of professional equipment.
The “Keep It Simple” Approach to Floating Shelves
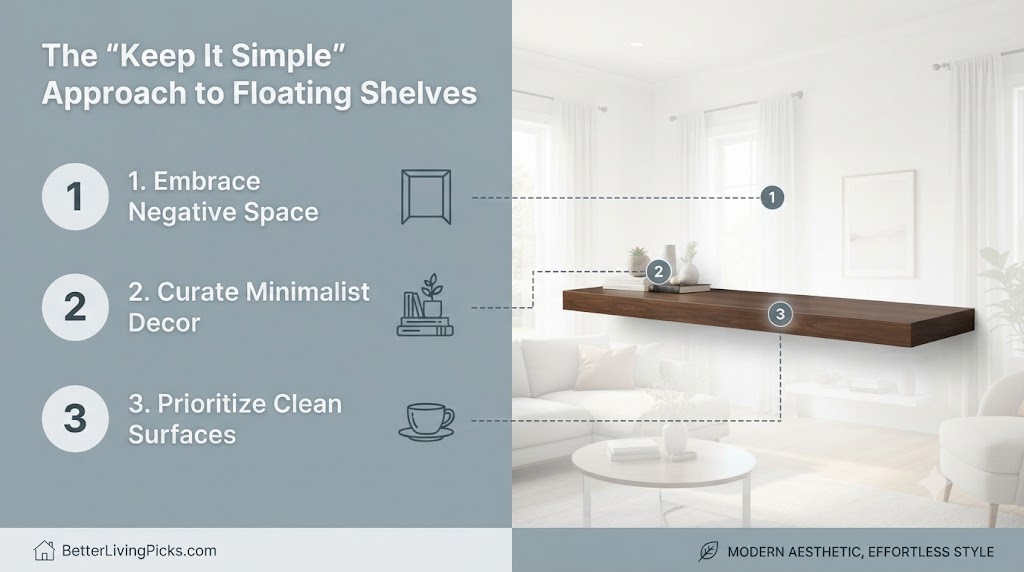
Getting started with DIY storage does not mean you need a garage full of professional-grade machinery. Most of the complexity in woodworking comes from fine furniture joinery, but floating shelves are structural, not decorative in their mechanics. Keep your goals realistic by focusing on sturdy materials and simple, hidden hardware. Many beginners get overwhelmed by the idea of miter saws, orbital sanders, and table saws. While those are nice, they are not strictly necessary for achieving a clean, modern floating look.
Choosing the Right Wood and Thickness
For a beginner, pine or poplar boards are your best friends. They are soft enough to drill into easily, cheap to replace if you make a mistake, and look great with a simple stain. Avoid choosing wood that is too thin; anything under 0.75 inches thick will likely bow under the weight of books or heavy decor. If you want a chunky, high-end look, aim for 1.5 to 2-inch thick dimensional lumber. These are often labeled as “common boards” at the lumber yard. They provide the best balance of structural integrity and aesthetic weight. Always inspect the wood for warping or large knots before purchasing, as these can make mounting difficult later.
Essential Tools Every Beginner Needs
You do not need a shop full of tools to get professional results. A few reliable items will get you through almost any project:
- A Cordless Drill: This is your primary workhorse for driving screws. An 18V or 20V model is ideal for enough torque.
- A Stud Finder: Never guess where your wall studs are always confirm with a reliable electronic finder. Drywall is not strong enough to hold a shelf on its own.
- A Bubble Level: Nothing ruins the look of a shelf faster than a slight tilt. Use a 2-foot level for better accuracy.
- A Measuring Tape: Measure twice, drill once. A 12-foot tape is sufficient for interior work.
- Sandpaper (120-220 grit): Even pre-cut boards need a quick pass to smooth out rough edges and prevent splinters.
- Painter’s Tape: Use this to mark your drill depths on your bits so you don’t drill completely through your wood boards.
The Hidden Bracket Method (The Classic Look)
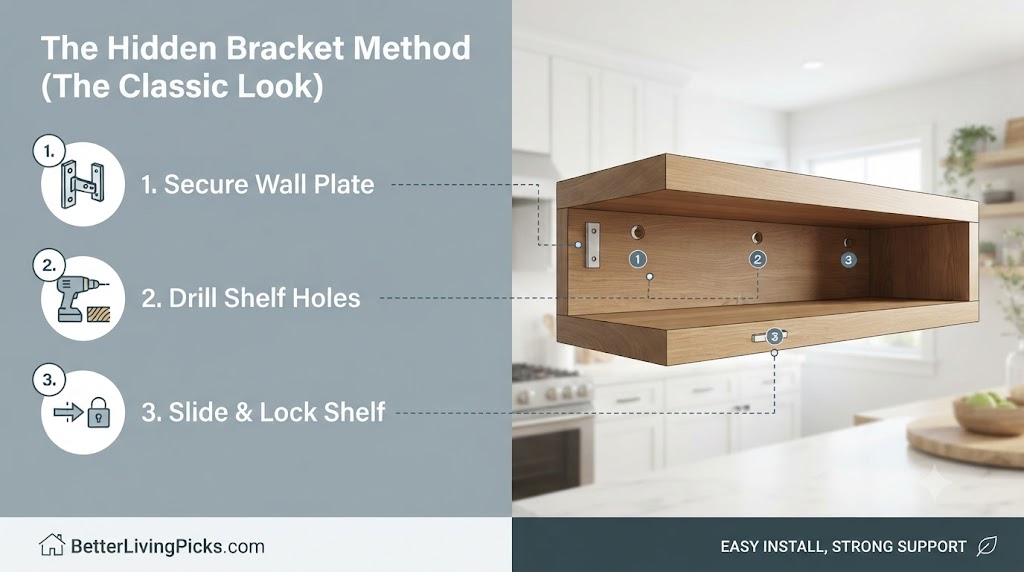
This is the project most people think of when they hear “floating shelf.” It involves a metal rod bracket that attaches to the wall, and the shelf board slides over it. This method provides the cleanest look but requires a bit more precision during the installation phase.
Finding Studs and Leveling
Before you drill, mark your stud locations clearly on the wall with a pencil. Use your level to draw a straight horizontal line connecting these marks to ensure your bracket is perfectly flat. If your bracket does not line up with your studs, do not try to “make it work” with hollow wall anchors; simply shift the bracket or drill new holes in the steel backplate to align with the studs. Hitting the stud is the difference between a shelf that lasts a lifetime and one that falls within a week.
Avoiding the “Sagging Shelf” Mistake
The biggest mistake beginners make is using an undersized drill bit for the bracket holes in the wood. If the hole is too tight, you will struggle to push the shelf on; if it is too loose, the shelf will droop immediately. Test your fit on a scrap piece of wood first. Also, ensure the bracket is pushed flush against the wall before tightening; any gap here will lead to immediate sagging once weight is added. Use a socket wrench to drive your mounting screws tight so the bracket head doesn’t interfere with the shelf sliding on.
The Cleat-Supported Shelf (Most Durable)
If you need a shelf that holds heavy items like kitchenware or heavy books, the hidden cleat is your best bet. It is essentially a piece of wood screwed directly into the studs, which the shelf sits on top of or slides over. This is the most structural way to build.
Why Wood Cleats are Your Best Friend
Cleats are incredibly forgiving. Because they are long, you have plenty of room to drive screws into every stud you encounter. This distributes the weight across the entire length of the shelf, making it nearly impossible for the unit to pull away from the wall. You can cut your cleat from a 2×4 scrap, which is sturdy enough to hold a significant amount of weight.
Hiding the Cleat for a Seamless Floating Effect
To make it look like it is floating, you build a “hollow box” shelf that slides over the cleat. Use a thin piece of 0.25-inch plywood or MDF for the top and bottom, and a solid piece for the front face. Once the box slides over the cleat, you can put a few small finish nails through the top of the shelf into the cleat to lock it in place. The result is a thick, substantial-looking shelf that feels like it’s built into the wall, but it is actually hollow and lightweight.
Using Pre-Finished Boards (No Sanding Required)
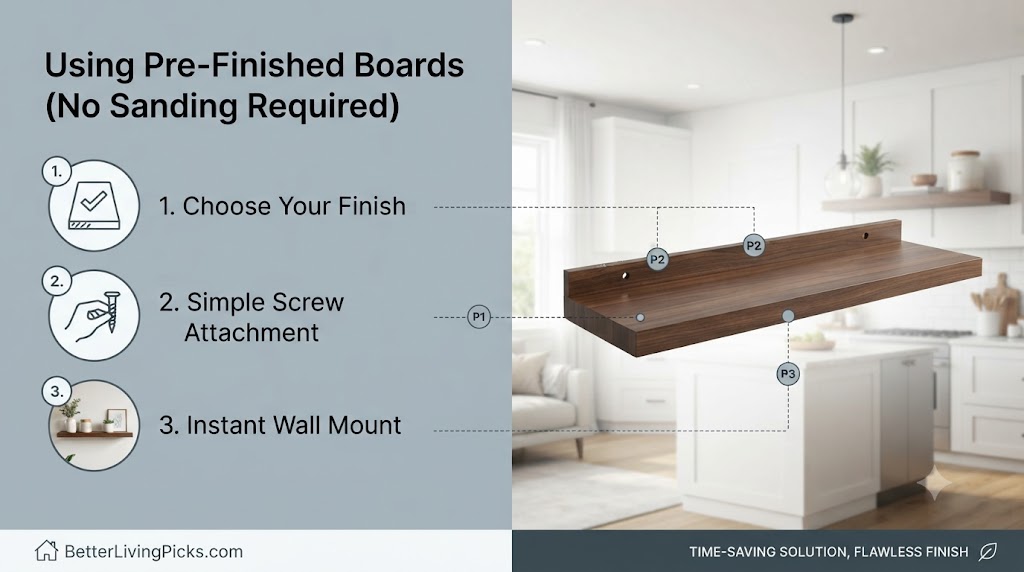
If you are short on time or just don’t want a mess in your living room, head to the store and pick up edge-glued panels. These come pre-sanded and finished, meaning you can skip the dust and go straight to the installation.
Buying Edge-Glued Panels
These panels are usually found in the lumber aisle and are much flatter than standard dimensional lumber. Because they are glued together from smaller strips, they are also less prone to warping or twisting over time. Look for ones that already have a finished edge so you don’t have to worry about staining or painting the sides. They often come in widths like 8, 10, or 12 inches, which are perfect for standard bookshelf depths.
Fast and Clean Mounting Strategies
Since these are often lighter, you can use high-quality floating shelf hardware that screws into the back of the board. Simply line up the hardware with your studs, drill, and slide the board on. Because the board is pre-finished, you don’t have to deal with the smell of stain or the dry time of polyurethane, making this the best “afternoon project” for a busy weekend.
Industrial Pipe Floating Shelves
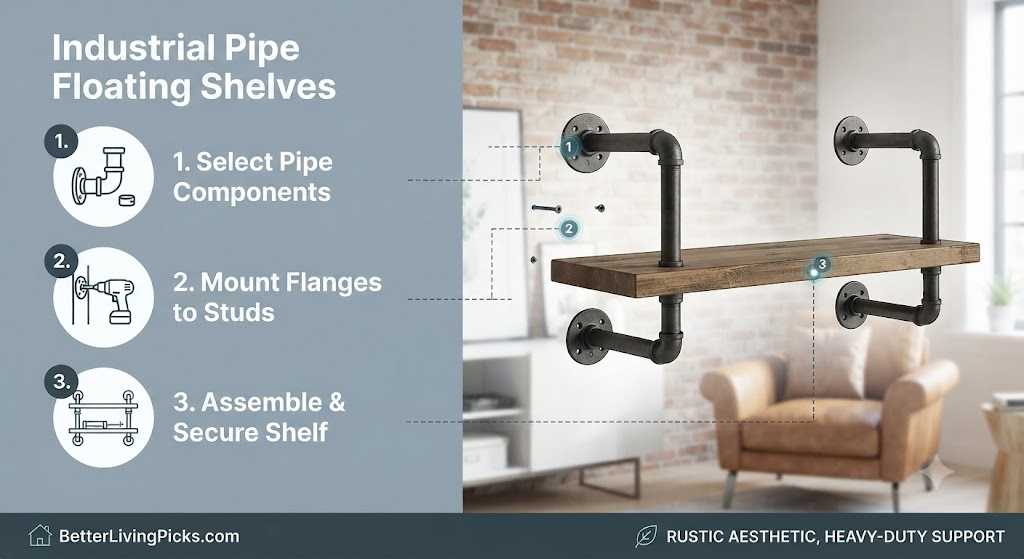
This style is perfect if you want a rugged, modern look. It uses iron pipes and floor flanges as both the structural support and the decorative element. It requires zero woodworking skills and minimal tools.
Getting the Aesthetic Without Heavy Construction
You do not need to cut pipe yourself. You can buy pre-threaded black iron pipe in various lengths at any hardware store. Simply screw the pipes into the floor flanges, attach the flanges to the wall, and lay your wood board across the pipes. The pipes act as the bracket. To prevent the board from sliding, use a small amount of heavy-duty double-sided tape or a small screw driven from the bottom of the board into the pipe flange.
Wall Anchors vs. Studs: What You Need to Know
Because the pipe assembly is heavy on its own, you must screw the flanges into the studs. If you try to use drywall anchors, the weight of the pipe plus your shelf will eventually cause the screws to tear out of the wall. If your studs don’t align with where you want the shelf, install a “mounting board” (a thin piece of wood stained to match your wall) into the studs first, then screw your pipe flanges into that.
The “L-Bracket” Hack
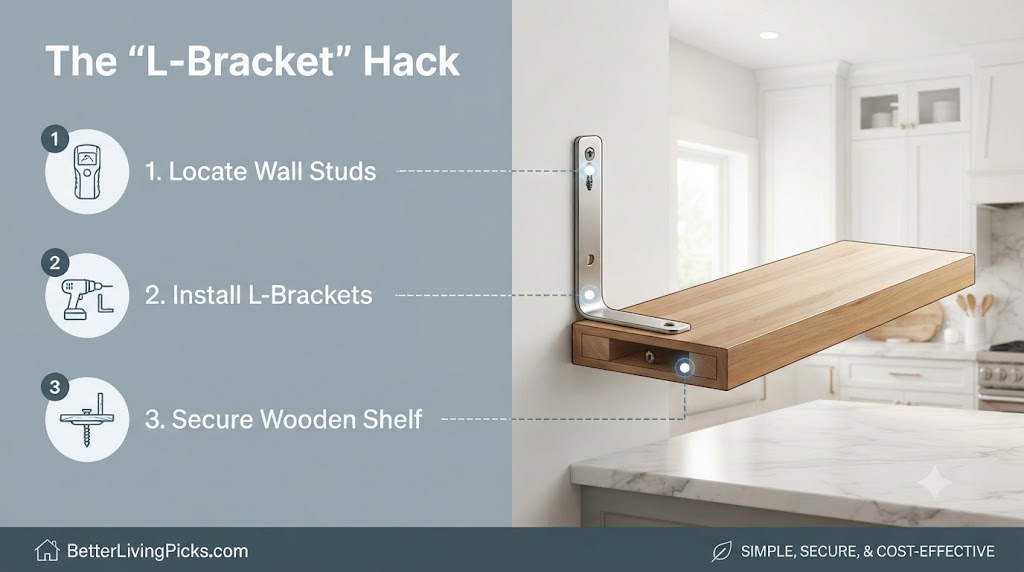
This is the ultimate “cheat” for a floating look. It provides the strength of steel while keeping the hardware mostly tucked out of sight.
How to Conceal Hardware for a True Floating Look
Buy heavy-duty, low-profile L-brackets. Instead of mounting them so they show underneath, you can use a router or a simple chisel to recess the bracket into the back of the wood board. This allows the wood to sit flush against the wall, effectively hiding the vertical leg of the bracket. Paint the visible part of the bracket the same color as your wall, and the shelf will look like it is magically sticking out of the plaster.
Troubleshooting Common Installation Headaches
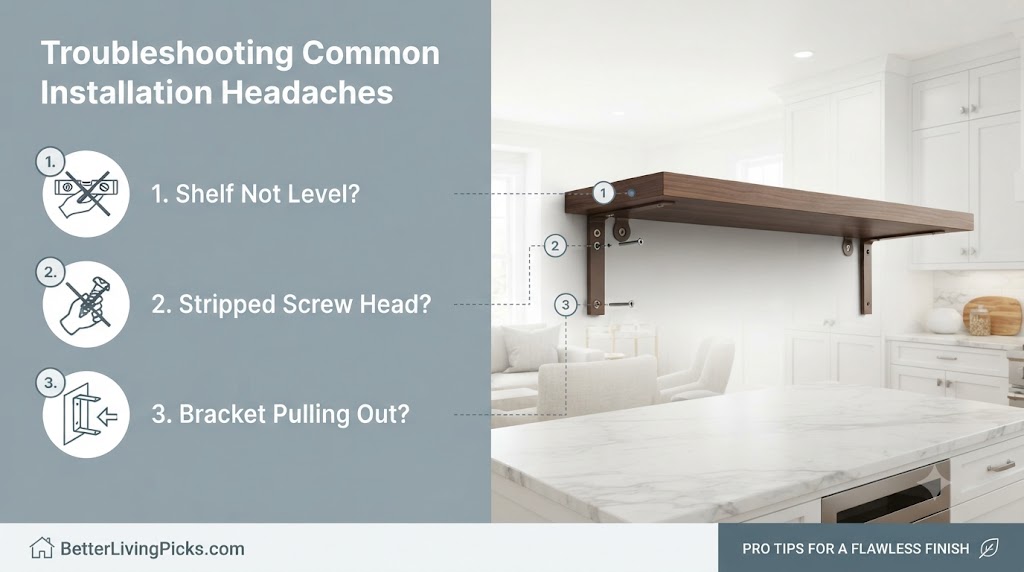
Dealing with Unlevel Floors and Crooked Walls
Most homes are not perfectly square. If you use a level and it looks “off,” trust the level, not the floor or the ceiling. If the wall itself is bowed, your shelf might have a gap at the back. You can hide this by applying a thin bead of paintable caulk along the seam where the shelf meets the wall. Once painted, the gap disappears entirely, creating a custom, built-in appearance that looks much more professional than the raw edge.
What to Do If You Miss a Stud
If you find yourself in a position where you have missed a stud, do not panic and do not try to force a screw into the empty drywall. Use a toggle bolt instead of a standard plastic anchor. Toggle bolts open up behind the drywall, providing a much higher weight capacity and a secure grip that won’t wiggle loose over time.
Frequently Asked Questions
Can I install floating shelves on a brick wall?
Yes, but you need different hardware. You will need a masonry drill bit and plastic wall plugs designed for concrete or brick. You cannot screw directly into masonry without an anchor.
What is the maximum weight a DIY floating shelf can hold?
This depends entirely on your mounting method. A cleat-supported shelf into studs can easily hold 50+ pounds. A shelf held by small, store-bought hidden brackets is usually limited to 10-15 pounds. Always check the packaging on your hardware.
Should I stain the wood before or after installation?
Always stain or paint your wood before you mount it to the wall. This prevents you from accidentally getting stain on your walls and ensures you get even coverage on the top, bottom, and back of the boards.
What if my wall is not perfectly flat?
Walls often have slight humps. If your shelf doesn’t sit flush, you can use a hand plane or a piece of sandpaper to “scribe” or shave the back edge of the wood until it follows the contour of your wall.
How do I keep the shelf from sliding off the brackets?
Most brackets have a small set screw on the bottom. If yours doesn’t, you can drive a single, small finish nail through the top of the board into the bracket. This provides just enough friction to keep it from moving.
Can I use scrap wood for floating shelves?
Absolutely. As long as the wood is straight and thick enough to hold weight, scrap wood is a fantastic way to practice your skills and create unique, mismatched shelves for a rustic look.
Get Building
Taking that first step into DIY home improvement is usually the hardest part. Now that you know how to mount a shelf securely without needing an expensive workshop, you are ready to tackle your first project. Start with a small, manageable shelf in a low-traffic area to get a feel for how the wood and hardware interact. You will be surprised at how much pride you feel looking at a functional piece of decor that you built yourself. Grab your drill, find those studs, and start transforming your walls today. You don’t need to be an expert to make your space feel like your own; you just need to be willing to try